
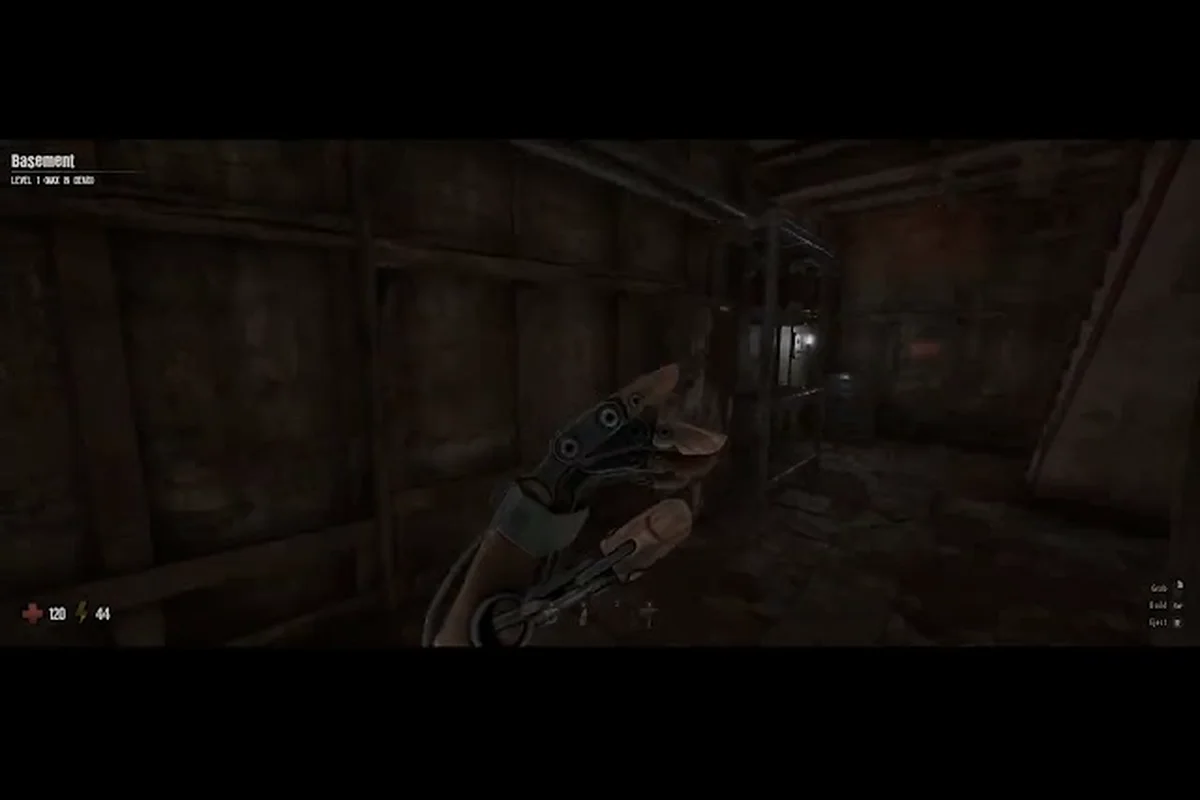
Knowing exactly when to sell loot in GRAIN ROT separates profitable extraction runs from wasted hours in the scorched wasteland. Every piece of furniture you rip from the ruins carries weight, risk, and a specific gold value that shifts with depth and corruption levels.
The game's core loop pushes you to descend into shifting ruins, rip out furniture, and scavenge before the Corrupted close in. But hauling everything back to the Outpost without a sell strategy will leave your inventory full, your pockets empty, and your next run underfunded. This guide breaks down furniture values, extraction timing, and the exit strategies that keep your gold flowing.
GRAIN ROT Sell Loot Fundamentals: Understanding the Outpost Economy
The Outpost serves as your hub between runs, and the Grinder is where you convert scavenged furniture into gold. According to the official GRAIN ROT Steam page, the game launched August 7, 2026, and the developers at Beck & Branch Games have been actively tuning Grinder gold values since the demo period. Before you sell loot, understand the three-tier value system that governs everything you haul back:
-
Common furniture (chairs, tables, crates) sells for 10-40 gold and fills inventory slots fast
-
Uncommon pieces (lamps, cabinets, wall decor) range from 50-120 gold and require moderate risk to reach
-
Rare and Corrupted items (vessels, ornate fixtures, cursed relics) can fetch 200-500+ gold but spawn only in deeper layers
The Grinder doesn't buy everything at face value either. Community reports from the official GRAIN ROT Discord indicate that item condition matters — damaged furniture sells for roughly 60% of its base value, while pristine pieces command a premium. Since the developers announced patch notes for vessel reworks and Grinder gold values, expect these numbers to shift slightly with future updates.
| Item Tier | Base Value Range | Depth Required | Inventory Slots | Risk Level |
|---|---|---|---|---|
| Common | 10-40 gold | Layer 1-2 | 1 slot | Low |
| Uncommon | 50-120 gold | Layer 2-3 | 1-2 slots | Medium |
| Rare | 150-300 gold | Layer 3-4 | 2 slots | High |
| Corrupted/Vessel | 300-500+ gold | Layer 4+ | 2-3 slots | Extreme |
Your inventory capacity starts at 8 slots and expands through Outpost upgrades. A full inventory of common furniture might net you 200 gold, but the same slots filled with rare pieces could bring 1,500+. That gap defines the entire sell-loot decision tree.
GRAIN ROT Furniture Value: What's Worth Carrying Back
Not all furniture deserves a spot in your limited inventory, and understanding grain rot furniture value by weight-to-gold ratio will save you from wasting extraction slots on junk. The most efficient sellers combine high gold output with low slot consumption.
Top-Tier Furniture to Prioritize
Vessels sit at the top of every loot priority list because they combine rarity with compact storage. Community testing suggests vessels sell for 300-500 gold each and take only 2 inventory slots, making them the best gold-per-slot ratio in the game. The developers have confirmed vessel reworks are coming, so their value may shift post-patch.
Ornate wall fixtures (mirrors, framed art, ceremonial masks) offer the second-best value at 150-250 gold for 1-2 slots. These spawn most reliably in layer 3 residential zones and abandoned chapels. Their steady supply and low weight make them an efficient mid-run cash option when you are already deep enough to justify the trip.
Lamps and light sources round out the high-value tier at 80-120 gold per slot. They're common enough to find consistently but valuable enough to justify the risk of deeper descents. Keep a mental price list while you loot so you can pass on marginal finds and reserve slots for lamps whenever they appear on the same floor.
Furniture to Skip or Sell Immediately
Basic chairs and stools clutter layer 1 and 2 ruins, but their 10-25 gold value rarely justifies the inventory space. Unless you're extracting immediately with empty slots, leave them behind. Their only real use is filling unused slots on the way back to extraction, and even then they are usually not worth the detour they require.
Crates and barrels seem tempting because they stack, but their 15-30 gold return per slot makes them the worst value in the game. Experienced players report skipping these entirely once they unlock deeper layers. Stacking them feels efficient because of the high inventory count, but the per-slot gold return stays bottom-of-the-barrel at every depth level.
| Furniture Type | Gold Value | Slots | Gold per Slot | Verdict |
|---|---|---|---|---|
| Vessel | 300-500 | 2 | 150-250 | Always grab |
| Ornate fixture | 150-250 | 1-2 | 125-150 | High priority |
| Lamp | 80-120 | 1 | 80-120 | Grab if nearby |
| Cabinet | 50-90 | 2 | 25-45 | Situational |
| Chair | 10-25 | 1 | 10-25 | Skip |
| Crate | 15-30 | 1 | 15-30 | Skip |
The gold-per-slot metric should drive every pickup decision because your extraction run has a hard inventory limit. A single vessel outperforms five chairs in both gold and slot efficiency, which means you should always prioritize quality over quantity when deciding what to sell loot for.
GRAIN ROT How Deep to Go: Balancing Risk and Reward
Depth determines both loot quality and danger level, and knowing grain rot how deep to go on any given run depends on your gear, your squad size, and your confidence in extraction. The ruins shift between runs, but layer composition follows predictable patterns.
Layer-by-Layer Breakdown
Layer 1 serves as the tutorial zone with common furniture, weak Corrupted enemies, and extraction points that appear frequently. Solo players can clear this layer safely, but the loot rarely justifies more than a quick sweep. Treat layer 1 as a warm-up and an Outpost material farm rather than a profit destination, and you will not waste time early in the session.
Layer 2 introduces the first meaningful risk-reward tradeoff. Uncommon furniture spawns regularly, and the Corrupted patrols become more aggressive. This is where most beginner players should focus their early runs because the danger remains manageable while gold output doubles. The layer 2 drop tables also introduce the first epic-tier furniture spawns, which is why most gold-farming guides point new players here first.
Layer 3 marks the transition to serious extraction play. Rare furniture spawns, but so do elite Corrupted variants that can two-shot undergeared players. Squad play becomes nearly mandatory here, and extraction points spawn farther from spawn zones. Bring a full squad, prioritize fire damage for the elite variants, and expect extraction to take longer because you will have to fight your way out.
Layer 4 and beyond hold the vessel-tier loot and the highest furniture values, but the corruption density makes solo extraction extremely dangerous. According to player reports from the Discord community, even experienced squads extract successfully from layer 4 only about 60% of the time.
| Layer | Furniture Quality | Enemy Threat | Extraction Difficulty | Recommended Gear |
|---|---|---|---|---|
| 1 | Common only | Very Low | Easy | Starter loadout |
| 2 | Common + Uncommon | Low-Medium | Moderate | Basic upgrades |
| 3 | Uncommon + Rare | High | Challenging | Full upgrades |
| 4+ | Rare + Vessel | Extreme | Very Hard | Endgame gear |
Your exit strategy should be locked in before you descend. Decide your target depth based on your current loadout, then commit to extracting once you hit that layer's loot threshold. The most common fatal mistake is pushing one layer deeper than your gear can handle because the furniture values look tempting.
GRAIN ROT When to Extract: Reading the Run's Signals
Knowing grain rot when to extract separates players who bank consistent gold from those who lose everything to corruption. The game doesn't give you an explicit timer, but several signals tell you when the run has peaked. The most reliable exit signal is the Corruption meter: once it crosses 60%, the risk of a wipe at the elevator outweighs whatever loot remains in the layer.
Extraction Timing Signals
Inventory saturation is the most obvious signal. Once your slots are filled with high-value furniture, every additional minute in the ruins risks losing what you've already secured. Players who extract at 80% inventory with quality items report higher average gold per run than those who push for a full 100% with mixed-quality loot.
Corruption buildup accelerates the longer you stay. The Corrupted enemies spawn more frequently, patrol tighter routes, and eventually begin spawning between you and extraction points. Community data suggests corruption intensity doubles after the 15-minute mark in layer 3 and above.
Squad health and consumables matter more than loot value. If your team has burned through healing items or lost a member to a Corrupted ambush, extract immediately. The gold from one more furniture piece never outweighs the risk of a full squad wipe.
| Signal | Action | Reasoning |
|---|---|---|
| 80% inventory with quality items | Extract now | Diminishing returns on additional looting |
| Squad member downed | Extract immediately | Revive costs resources; risk compounds |
| Corruption density increasing | Head to extraction | Enemy spawns will only get worse |
| Extraction point discovered nearby | Secure it first | Map it, then loot within safe radius |
| Rare item secured | Consider extract | Lock in value before RNG turns against you |
The extraction point spawn logic rewards players who locate their exit early. Once you find an extraction point, you can loot within a safe radius and retreat when danger approaches. This strategy lets you maximize furniture collection while maintaining a guaranteed escape route, which is the core of any solid grain rot exit strategy.
GRAIN ROT Extraction Mistakes: Common Gold-Losing Errors
Even experienced players fall into predictable traps that cost them valuable loot, and identifying grain rot extraction mistakes before they happen will protect your gold reserves. These errors appear constantly in community discussions and patch note feedback threads. Fixing these before they become habits will do more for your gold-per-hour than any single upgrade purchase, because mistakes scale with every run you play.
Overstaying the Welcome
The most expensive mistake is pushing for "one more room" after securing quality loot. Players report losing vessel-tier items because they wanted to fill their last inventory slot with a lamp. The Grinder gold values make this tradeoff mathematically terrible — risking a 400-gold vessel for a 100-gold lamp is negative expected value every time.
Ignoring Extraction Point Distance
Some players loot toward the map edge, away from extraction spawns, then realize they have to cross the entire layer under corruption pressure. Always track your distance to the nearest extraction point and factor that travel time into your sell loot decisions. A 90-second crossing under heavy corruption can turn a profitable run into a total loss.
Carrying Low-Value Items Over High-Value Ones
Inventory management failures happen when players grab common furniture early, then find rare pieces with no slots left. The fix is simple: skip common items entirely unless you're extracting within 30 seconds. Every common chair you carry blocks a potential vessel slot.
| Mistake | Gold Impact | Prevention |
|---|---|---|
| Overstaying after quality loot | Lose 300-500 gold item | Set extraction trigger before descending |
| Ignoring extraction distance | Full inventory loss | Map extraction points early |
| Filling slots with commons | Miss 200+ gold per run | Skip items under 50 gold per slot |
| Solo pushing layer 4 | Character + loot loss | Squad up for deep runs |
| Selling damaged items | 40% value reduction | Prioritize pristine furniture |
The damaged item penalty deserves special attention because it's easy to overlook. Furniture takes damage when you're hit by Corrupted attacks or when you drop items carelessly. A pristine vessel sells for 400 gold, but the same vessel at 60% condition sells for roughly 240 gold. Protect your loot by avoiding combat while carrying high-value pieces.
GRAIN ROT Exit Strategy: Building a Profitable Run Template
A reliable grain rot exit strategy turns every run into a repeatable profit loop. Instead of improvising based on what you find, commit to a structured approach that balances risk, loot quality, and extraction reliability. The best exit strategies set a hard cargo target, a Corruption ceiling, and a departure time before the run starts, then execute the plan without second-guessing.
The Three-Phase Run Template
Phase 1: Recon and Extraction Mapping (0-5 minutes) — Descend to your target layer and immediately locate the nearest extraction point. Mark it on your mental map and identify two backup routes. This phase costs little time but dramatically reduces late-run panic.
Phase 2: Targeted Looting (5-12 minutes) — Work in a spiral pattern around your extraction point, prioritizing high-value furniture within a 60-second return radius. Grab vessels, ornate fixtures, and lamps while skipping common items. Check every room's corners — players report that rare furniture spawns in hidden alcoves more often than in open areas.
Phase 3: Secure and Extract (12-15 minutes) — Once your inventory reaches 70-80% capacity with quality items, return to the extraction point and trigger the extraction sequence. If you have spare time and the corruption level remains low, you can make one final sweep within the safe radius, but never venture beyond it.
| Phase | Time Window | Primary Goal | Key Metric |
|---|---|---|---|
| Recon | 0-5 min | Map extraction points | 2+ routes identified |
| Looting | 5-12 min | Fill with quality items | 70%+ high-value slots |
| Extract | 12-15 min | Secure and escape | 100% extraction success |
This template works because it front-loads the risk assessment. By knowing your extraction route before you start looting, you eliminate the most common cause of lost loot — panicked navigation under corruption pressure. For a deeper breakdown of extraction mechanics, check our GRAIN ROT extraction guide covering the full loot extraction system.
Solo vs. Squad Exit Adjustments
Solo players should compress the template to a 10-minute run targeting layer 2 or 3, because the risk of corruption buildup outweighs the marginal loot gains from deeper descents. Squads can extend to 18-20 minutes and push layer 4, but only if every member commits to the same extraction trigger point.
Communication matters more than individual skill in squad runs. Designate one player as the extraction caller who tracks time, inventory, and corruption density. When the caller says extract, everyone moves — no exceptions. Teams that follow this rule report significantly higher gold-per-hour than squads that negotiate every extraction decision mid-run.
Frequently Asked Questions
What is the best way to sell loot in GRAIN ROT?
Take all furniture to the Grinder at the Outpost between runs. Prioritize selling pristine items over damaged ones, since damaged furniture sells for roughly 60% of base value. Sort your inventory by gold-per-slot and sell the highest-value items first to maximize your return on each extraction run.
How deep should I go to find valuable furniture?
Layer 3 offers the best risk-to-reward ratio for most players because rare furniture spawns consistently while enemy threats remain manageable with upgraded gear. Layer 4 holds vessel-tier loot worth 300-500 gold, but extraction success rates drop to around 60% even for experienced squads. Push deeper only when your loadout and squad coordination justify the risk.
When should I extract instead of continuing to loot?
Extract when your inventory reaches 80% capacity with quality items, when a squad member goes down, or when corruption density noticeably increases. The 15-minute mark in layer 3 and above triggers significantly more aggressive Corrupted spawns. Locking in secured loot always beats gambling on additional furniture.
What are the most common extraction mistakes in GRAIN ROT?
The biggest mistakes are overstaying after securing quality loot, ignoring extraction point distance, and filling inventory slots with low-value common items. Players also lose 40% of item value by letting furniture take damage during combat. Map your extraction route early and skip anything under 50 gold per slot.
How does furniture condition affect sell price?
Pristine furniture sells at full value, but any damage—from Corrupted hits or careless drops—slashes it to 60% of base. Guard high-value pieces by dodging combat mid-carry and stashing fragile loot in safe rooms. What’s your best single-run haul? Share it below or hit the GRAIN ROT Discord.