
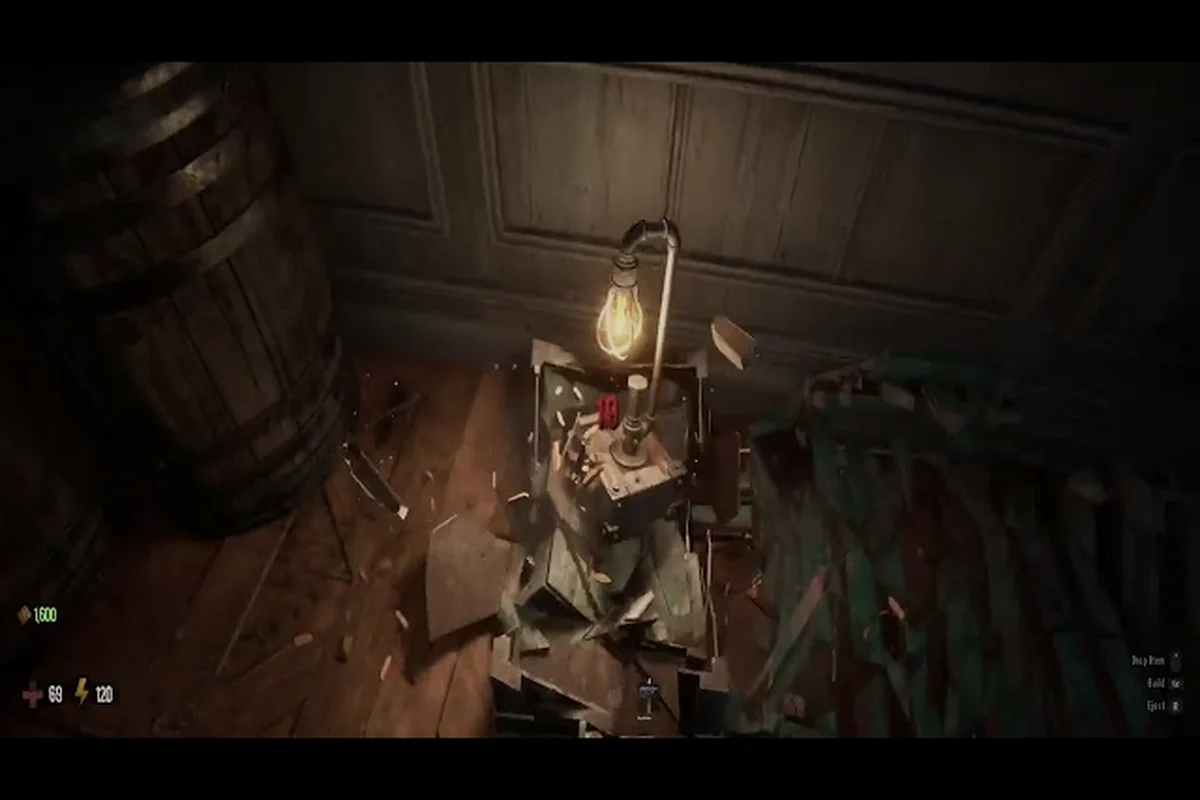
Dying in GRAIN ROT isn't the end of your run — it's the start of a desperate second act. Understanding how death works determines whether you lose everything or claw your way back with a fresh vessel, rescued teammates, and loot intact. This guide breaks down the full death loop, possession mechanics, survivor rescue system, elevator unlock, and what waits in the deep layers.
GRAIN ROT Death Mechanics: What Happens When You Die
When your vessel collapses in the scorched wasteland, the game immediately shifts you into a spectator state where you can float freely around your corpse and nearby allies. This isn't a loading screen — you're still actively participating in the run, and your choices in the next few seconds determine whether you recover your gear or lose it permanently.
The core death loop follows a simple sequence: vessel death → soul release → possession attempt → rescue or loss. Each step has specific rules that most new players miss on their first few runs, especially when they panic and rush the possession prompt without checking their surroundings.
| Death Stage | What Happens | Time Window | Risk Level |
|---|---|---|---|
| Vessel Collapse | Your body drops, loot stays on corpse | Instant | Low |
| Soul Release | You become a floating specter | 2-3 seconds | Low |
| Possession Window | Nearby vessels become highlighted | 10 seconds | Medium |
| Rescue Attempt | Teammates can revive your old body | Until extraction | High |
| Soul Loss | No vessel found, run ends | After timer expires | Critical |
According to community reports from the official Discord, the possession window lasts roughly 10 seconds before your soul starts degrading. If you don't find a vessel in time, you'll be pulled back to the Outpost with whatever you banked before the run — which means all unbanked loot on your corpse is gone forever.
The Soul Meter and Degradation Timer
Your soul doesn't stay fresh forever. Every second you spend as a specter drains a hidden soul integrity meter, which the game doesn't display numerically but signals through visual cues — your screen edges start burning, and your movement speed gradually slows. Players who've tested this extensively report that the window extends to about 15 seconds if you stay near your corpse, because the residual connection keeps your soul anchored.
Soul anchoring is the single most important mechanic to understand when you're learning how death works in GRAIN ROT. If you drift more than roughly 20 meters from your corpse, the degradation accelerates dramatically, cutting your possession window in half. Stay close, assess your options, and make a deliberate choice rather than floating aimlessly.
How to Possess a New Vessel After Death
Possession is your primary recovery tool when death strikes. The game scatters empty vessels throughout the ruins — husks of previous explorers that failed their runs and left their bodies behind. These appear as glowing silhouettes when you're in specter form, and each one offers different stats depending on its condition.
| Vessel Type | Health | Carry Capacity | Special Trait | Spawn Location |
|---|---|---|---|---|
| Hollow Husk | 60 HP | 4 slots | None | Common, surface ruins |
| Charred Shell | 80 HP | 5 slots | Fire resistance | Mid layers, near burn zones |
| Corrupted Frame | 100 HP | 6 slots | +10% melee damage | Deep layers, high risk |
| Pristine Body | 120 HP | 8 slots | All stats boosted | Rare, locked rooms |
To possess a vessel, simply float into it and hold the interact button for 2.5 seconds. The process isn't instant — during the channel, you're vulnerable to nearby Corrupted enemies, and taking damage interrupts the possession. This is why checking your surroundings before committing is critical, because a half-finished possession leaves you stuck in a worse position than before.
Possession Strategy: When to Take a Vessel vs. Wait for Rescue
The biggest mistake new players make is grabbing the first vessel they see without considering their team's position. If your teammates are already moving toward your corpse with a Spark in hand, waiting for a revive is almost always better — you keep your original vessel's stats and all your equipped gear.
Possession priority should follow this order: wait for rescue if teammates are within 15 seconds of your position, take a vessel if you're solo or your team is too far, and only attempt possession in a cleared area because Corrupted enemies will interrupt the channel. Community testing shows that players who rush possession without checking their surroundings lose their soul entirely about 40% of the time, because the interruption sends them straight to the Outpost.
How to Rescue Survivors and Rebuild Your Crew
Rescuing survivors isn't the same as reviving fallen teammates — it's a separate system that expands your Outpost roster. Survivors are NPCs trapped in the ruins, marked by a distinct blue glow rather than the white glow of empty vessels. Each survivor you rescue adds a permanent character to your Outpost who can join future runs with unique starting gear.
| Survivor Type | Rescue Requirement | Reward | Difficulty |
|---|---|---|---|
| Scavenger | Clear 3 Corrupted nearby | +1 inventory slot blueprint | Easy |
| Engineer | Repair a broken elevator panel | Elevator fuel efficiency +10% | Medium |
| Medic | Bring a Spark to their location | Free revive once per run | Medium |
| Veteran | Survive 2 minutes in deep layers | +15% damage against Corrupted | Hard |
The rescue mechanic requires you to interact with the survivor's cage or bindings while they're alive, which means you need to clear the immediate area first. Survivors don't fight — they follow you to extraction automatically once freed, but they move slowly and can't carry loot. If you're deep in the ruins when you find one, you'll need to decide whether the rescue is worth sacrificing your loot run, because escorting a survivor takes time and attracts extra Corrupted spawns.
Survivor Rescue and Outpost Progression
Each survivor you rescue permanently increases your Outpost's capabilities, which is why prioritizing rescue missions early pays off massively. The Medic survivor is widely considered the best first rescue because their free revive ability stacks with your normal revive system, giving you two chances to recover from a bad encounter. According to player reports from the GRAIN ROT Steam community hub, teams that rescue the Medic before their fifth run have a significantly higher extraction rate in the early game. For a deeper breakdown of how rescued survivors affect your Outpost and which ones to prioritize, check our Outpost NPC progression guide — it covers the full roster and upgrade priorities in detail.
How to Unlock the Elevator and Access Lower Layers
The elevator is your gateway to the deep layers, and unlocking it requires completing a specific sequence of objectives across multiple runs. This isn't a single-run task — the elevator has three separate unlock stages, each requiring materials and knowledge from previous expeditions.
| Elevator Stage | Required Items | Location | Unlock Effect |
|---|---|---|---|
| Stage 1: Repair | 5 Scrap Metal, 2 Gears | Outpost workshop | Elevator becomes operational |
| Stage 2: Fuel | 3 Fuel Canisters | Mid-layer supply rooms | Access to Layer 2 |
| Stage 3: Keycard | Security Keycard | Deep layer boss room | Access to Layer 3+ |
The elevator unlock process starts with gathering Scrap Metal and Gears from surface ruins, which you'll need to bank at the Outpost because they don't transfer between runs unless deposited. Once repaired, the elevator takes you to Layer 2, but reaching Layer 3 requires the Security Keycard that drops from the first deep-layer mini-boss.
Elevator Unlock Strategy for Solo Players
Solo players face a tougher challenge with the elevator because the Security Keycard boss is tuned for teams. The workaround, according to community testing, involves using the Corrupted Frame vessel — its bonus melee damage plus a well-timed Spark throw can solo the boss, but you'll need to practice the dodge timing because one hit from the boss's sweep attack takes out half your health. If you're struggling with the elevator unlock, consider running with a duo partner first — the duo strategies guide covers coordinated approaches that make the keycard boss significantly easier, including a bait-and-flank pattern that most successful teams use.
GRAIN ROT Deep Layers Explained: What Changes and What's at Risk
The deep layers fundamentally change how death works, and understanding these differences before you descend is the difference between a profitable run and a total loss. Each layer below the surface introduces new mechanics, tougher Corrupted variants, and higher-value loot — but also stricter death penalties.
| Layer | Corrupted Threat | Loot Value | Death Penalty | Unique Mechanic |
|---|---|---|---|---|
| Surface | Low | 1x | Standard | None |
| Layer 2 | Medium | 2x | Lose unbanked loot | Toxic gas pockets |
| Layer 3 | High | 3x | Lose unbanked loot + vessel upgrade | Darkness zones |
| Layer 4 | Extreme | 5x | Permanent vessel stat loss | Corrupted elites |
The deep layers death penalty escalates significantly at Layer 4, where dying doesn't just cost you loot — it permanently reduces your current vessel's max health by 10%. This stacks across deaths, which means repeated failures in the deep layers can make your vessel nearly unusable. Players report that this penalty resets when you possess a new vessel, so switching bodies after a deep-layer death is the recommended recovery strategy.
Deep Layer Survival Tactics
Surviving the deep layers requires a completely different approach than surface runs. The darkness zones in Layer 3 force you to rely on light sources, which take up inventory slots and attract Corrupted enemies — a trade-off that demands careful planning. Most successful deep runs carry exactly one light source per player and coordinate movement so only one person's light is active at a time.
The extraction mechanics also change in deep layers — the elevator becomes your only exit, and it takes 30 seconds to arrive once called. That 30-second window is when most deaths happen, because the elevator call attracts every Corrupted enemy in the area. Setting up a defensive position before calling the elevator is essential, and having one player sacrifice their vessel to hold the line while others extract is a common strategy reported by veteran teams. For a complete breakdown of extraction strategies and how to carry loot safely through deep layers, our revive and extraction guide covers the Spark mechanics and loot recovery systems in depth.
Frequently Asked Questions
What happens to my loot when I die in GRAIN ROT?
Your loot stays on your corpse until you either possess a new vessel and return to retrieve it, or a teammate picks it up. If your soul expires without finding a vessel, all unbanked loot is lost permanently. Banked loot at the Outpost is always safe, so depositing valuable items before risky expeditions is essential.
How long do I have to possess a new vessel after dying?
The possession window lasts approximately 10 seconds, extending to about 15 seconds if you stay within 20 meters of your corpse. Drifting away from your body accelerates soul degradation and shortens the window. Use the visual cues — burning screen edges and slowed movement — to gauge how much time you have left.
How do I unlock the elevator to reach deep layers?
The elevator requires three unlock stages: repair it with 5 Scrap Metal and 2 Gears, fuel it with 3 Fuel Canisters from mid-layer supply rooms, then obtain the Security Keycard from the deep-layer mini-boss. Each stage requires materials banked at the Outpost, so plan multiple runs to complete the unlock.
What makes the deep layers different from surface runs?
Deep layers have higher loot multipliers but stricter death penalties, including permanent vessel stat loss at Layer 4. New mechanics like toxic gas pockets, darkness zones, and Corrupted elites require specialized preparation. The elevator is your only extraction point, and calling it attracts enemies, so defensive positioning before extraction is critical.
Is death permanent in GRAIN ROT?
Death isn’t permanent in GRAIN ROT—your soul survives to possess a new vessel. But unbanked loot vanishes, and deep-layer deaths permanently degrade your current body, stacking penalties. Treat each run as a costly setback, not a reset, and bank early to blunt the sting.