
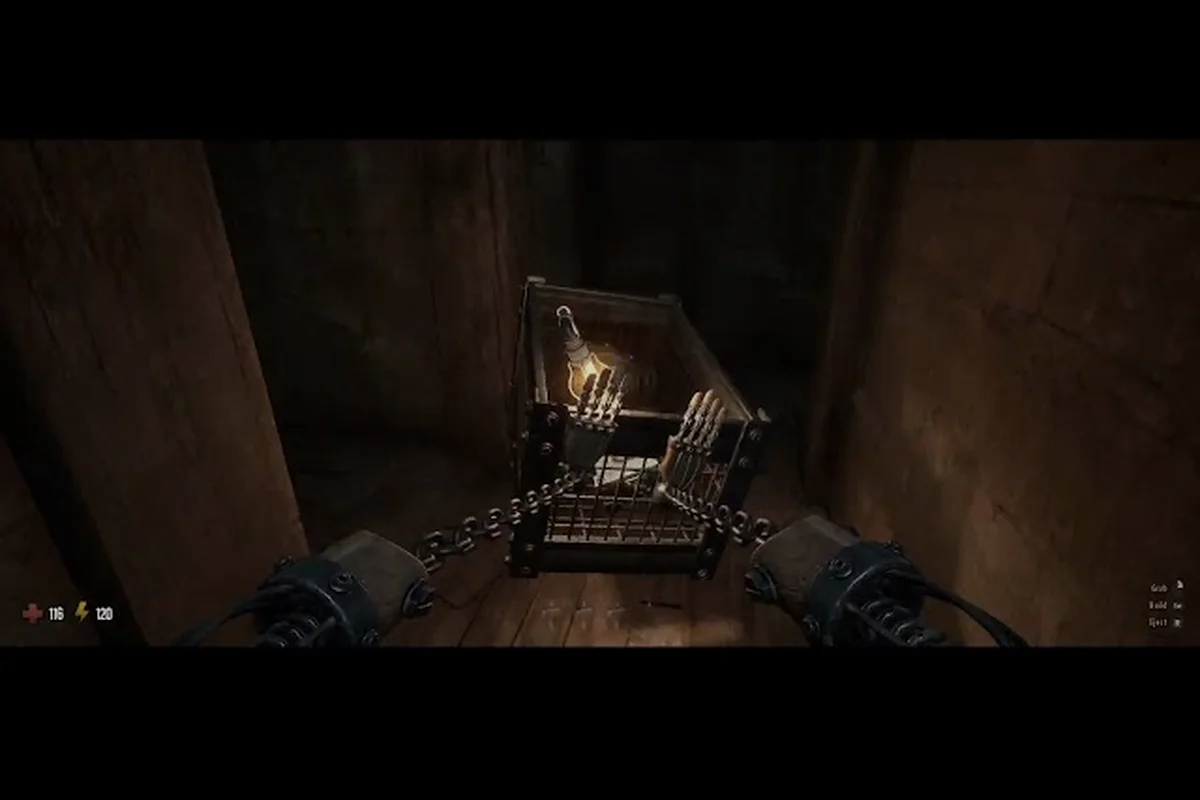
Losing your vessel in GRAIN ROT doesn't end your run, but it changes everything about how you play. Understanding grain rot vessel death mechanics is the difference between a salvageable extraction and a total wipe, especially when the Corrupted are closing in around you.
The scorched wasteland of GRAIN ROT punishes careless pilots, and knowing exactly what happens when your vessel breaks — plus how the Spark system lets you keep fighting — is critical survival knowledge. This guide breaks down the death sequence, spark abilities, teammate revival, and which vessels handle destruction best.
What Happens When Your Vessel Breaks in GRAIN ROT
When your vessel's health hits zero, the destruction sequence begins immediately. Your character doesn't just die — you're ejected as a Living Spark, a floating form that can still move, scout, and interact with the environment while your physical vessel lies in ruins.
The moment your vessel breaks, several things happen simultaneously. First, all carried loot drops to the ground in a scattered pile that teammates can recover. Second, a loud audio cue alerts nearby Corrupted to your position, which means you'll need to move fast if you want to survive. Third, your Spark form gains access to unique abilities that your vessel form doesn't have.
According to community reports from the official Discord server, the Spark form moves roughly 40% slower than a standard vessel but can phase through certain obstacles that would block a physical body. This trade-off means you're not completely helpless, but you're also not equipped for extended combat.
| Vessel State | Movement Speed | Loot Access | Combat Ability | Corrupted Aggro |
|---|---|---|---|---|
| Intact Vessel | 100% | Full inventory | Full weapon access | Normal |
| Damaged Vessel | 85% | Full inventory | Reduced weapon access | Increased |
| Broken (Spark) | 60% | Dropped only | Spark abilities only | High |
| Revived Vessel | 100% | Recovered | Full weapon access | Normal |
The Spark form is your lifeline after grain rot vessel death, but it's not a permanent solution. You have a limited window to either reach a teammate who can revive you or find a safe spot to wait out the danger.
What Happens When Your Vessel Breaks
When your vessel breaks, you don't just float around helplessly — you gain access to spark abilities that can turn the tide of a desperate situation. These abilities are distinct from your vessel's regular toolkit and serve specific survival purposes.
Spark Ability Breakdown
The Spark form grants three core abilities that every player should master before heading into deep extraction runs. These abilities have cooldowns that feel long when you're panicking, so use them deliberately rather than spamming. Phase Dash lets you quickly reposition by becoming intangible for a brief moment. This is your primary escape tool when Corrupted swarm your broken vessel's location. The dash covers roughly 8 meters and passes through enemies without triggering their attack animations, which makes it invaluable for reaching downed teammates.
Residual Scan highlights nearby loot and Corrupted within a 15-meter radius for five seconds. This ability helps you locate your dropped loot pile and identify safe escape routes. Community testing suggests the scan also reveals hidden caches that are otherwise invisible, making it useful even when your vessel is intact.
Spark Meld allows you to temporarily hide inside environmental objects like ruined furniture or cracked walls. While melded, you're invisible to Corrupted patrol patterns but can't move or use other abilities. This is your last-resort survival tool when no teammate can reach you.
| Spark Ability | Cooldown | Duration | Primary Use |
|---|---|---|---|
| Phase Dash | 12 seconds | Instant | Escape and repositioning |
| Residual Scan | 20 seconds | 5 seconds | Loot and enemy detection |
| Spark Meld | 30 seconds | Until exit | Stealth and ambush avoidance |
The spark abilities system rewards players who think creatively about positioning. A well-timed Phase Dash through a wall can mean the difference between recovery and losing everything you've collected. Practicing these positioning tricks in the Outpost yard will save your run during the first real ambush, when split-second decisions decide whether you recover or wipe.
How to Revive a Teammate After Vessel Death
Reviving a teammate in GRAIN ROT requires understanding the interaction between Spark forms and intact vessels. The process isn't complicated, but it demands coordination and awareness of your surroundings. Before you attempt your first revive, assign one player to hold the area while the other channels, because the 4-second animation leaves both players exposed.
Step-by-Step Revival Process
Step 1: Locate the Spark
Your downed teammate's Spark appears as a glowing orange wisp that's visible through walls within a certain range. Follow the visual indicator and listen for the distinctive hum that Spark forms emit. Step 2: Clear the Area
Before attempting revival, eliminate or distract nearby Corrupted. The revival animation takes 4 seconds and can be interrupted by enemy attacks, forcing you to restart the process. Step 3: Initiate the Revival
Approach the Spark and hold the interaction button. Your vessel will begin channeling energy into the Spark, gradually reconstructing the teammate's vessel form. During this window, you're vulnerable, so position yourself behind cover if possible. Step 4: Confirm the Revival
Once the channel completes, your teammate's vessel reforms at 60% health with no active abilities on cooldown. They'll need a moment to reorient, so call out threats while they recover. The grain rot how to revive teammate question comes up constantly in the community, and the answer is straightforward: any intact vessel can revive any Spark, regardless of vessel type or rarity. This universal mechanic means even the cheapest starter vessel can save a teammate running an endgame build. For a deeper dive into the revival mechanics and Spark interactions, check our detailed revival guide that covers advanced scenarios like reviving during Corruption surges.
Grain Rot Vessel Comparison: Death Resistance and Recovery
Not all vessels handle destruction equally. Some have higher health pools that delay the inevitable, while others offer faster recovery options or better Spark form synergy. Understanding these differences helps you choose the right vessel for your playstyle. These trade-offs matter most during deep runs, where recovery speed and Spark synergy often determine whether a wiped squad can salvage the haul.
Vessel Durability Comparison
| Vessel | Max Health | Spark Form Bonus | Recovery Speed | Solo Viability |
|---|---|---|---|---|
| Ember Skiff | 120 | Phase Dash cooldown -3s | Fast | Excellent |
| Ash Barge | 180 | Residual Scan range +5m | Slow | Poor |
| Scorchweaver | 150 | Spark Meld duration +10s | Medium | Good |
| Hauler's Frame | 200 | All cooldowns -2s | Very Slow | Poor |
| Phoenix Core | 160 | All abilities +20% power | Fast | Excellent |
The grain rot vessel comparison shows that tankier vessels like the Ash Barge and Hauler's Frame survive longer but recover slowly after breaking. Meanwhile, the Ember Skiff and Phoenix Core trade health for better recovery options, making them stronger choices for aggressive playstyles.
Death Recovery Mechanics
When your vessel breaks, the recovery speed determines how quickly you regain combat effectiveness after revival. This stat affects both the revival channel time and the health percentage you return with. Fast recovery vessels return at 70% health with all abilities ready. Medium recovery returns at 60% health with abilities on half cooldown. Slow recovery returns at 50% health with all abilities on full cooldown.
These differences matter more in extended runs where multiple vessel deaths can occur. A team of Ash Barges might survive longer initially, but they'll struggle to recover from repeated destruction compared to a squad running Ember Skiffs. Matching vessel types to your team's revival chain is a subtle advantage, but it compounds over a long session where every member dies at least once.
Best Vessel for Solo Players Facing Death
Solo play in GRAIN ROT is brutal, and vessel death carries higher stakes because there's no teammate to revive you. The grain rot best vessel for solo choice revolves around self-recovery options and escape potential. Favor vessels with fast recovery, strong Spark abilities, or high base durability, and keep at least one consumable slot reserved for emergency repairs.
Top Solo Vessel Picks
Ember Skiff remains the community favorite for solo runs because its fast recovery speed and reduced Phase Dash cooldown create a safety net that other vessels lack. When your vessel breaks, the shorter dash cooldown lets you escape danger more frequently while waiting for a safe moment to recover.
Phoenix Core offers a different solo advantage: its Spark abilities are more powerful, which means you can fight back effectively even without a vessel. The +20% ability power turns Phase Dash into a longer escape tool and Residual Scan into a wider detection net.
Scorchweaver sits in a middle ground that works for experienced solo players. Its extended Spark Meld duration provides excellent stealth options, but the medium recovery speed means you'll spend more time vulnerable after revival. Solo players who master Scorchweaver's stealth can often avoid fights entirely, which is the real reason it outperforms raw stats on solo tier lists.
| Solo Scenario | Ember Skiff | Phoenix Core | Scorchweaver |
|---|---|---|---|
| Early game extraction | Best | Good | Good |
| Deep layer runs | Good | Best | Medium |
| Speed runs | Good | Medium | Best |
| High Corruption zones | Medium | Good | Best |
The best vessel for solo ultimately depends on your risk tolerance. If you want maximum survivability after grain rot vessel death, the Ember Skiff's fast recovery wins. If you prefer fighting back in Spark form, the Phoenix Core's boosted abilities are unmatched.
Solo Death Recovery Strategy
When your vessel breaks solo, your priority shifts from recovery to survival. The Spark form can't carry loot, so you must decide whether to wait for safety or abandon your dropped items. Option 1: Immediate Retreat — Use Phase Dash to create distance, then find a safe corner to wait out the danger. Once the area clears, return to your loot pile and recover what you can.
Option 2: Aggressive Recovery — If you have a Phoenix Core, fight back using boosted Spark abilities. Clear the immediate threats, then recover your vessel and loot in one motion. This option works best when you know the nearest safe room is close, because fighting back in the open with a damaged vessel rarely ends well.
Option 3: Sacrifice — When the extraction timer is low or Corruption is spreading, abandon your loot and focus on reaching the extraction point in Spark form. You'll lose your haul but keep your run progress. Many veterans choose this option when the loot is already solid and the run timer is tight, because preserving progress beats chasing a marginal payout.
Community data from the official Discord suggests that Option 1 works best for beginners, while experienced players often succeed with Option 2 when running Phoenix Core builds. The vessel health guide covers damage avoidance techniques that reduce how often you face these decisions in the first place.
Preventing Vessel Death Through Smart Play
The best way to handle grain rot vessel death is to avoid it entirely. While some deaths are unavoidable, most vessel destruction comes from preventable mistakes that players repeat across runs. Most deaths come from three preventable errors: pulling too many enemies, carrying too much weight, and ignoring the Corruption timer while looting.
Common Death Causes and Solutions
Overextending into Corruption — The Corrupted deal escalating damage the deeper you push, and many players ignore the warning signs until it's too late. Watch for the screen edge darkening that signals Corruption buildup and retreat before your health drops below 30%.
Ignoring Repair Opportunities — Scattered throughout the ruins are repair stations that restore 40% vessel health. Skipping these to save time often leads to death later in the run. Always stop at repair stations when your health drops below 50%.
Poor Aggro Management — Alerting multiple Corrupted groups simultaneously creates impossible combat scenarios. Use the Residual Scan ability to identify patrol routes and plan paths that avoid triggering multiple groups at once. If you do trigger multiple groups, use a smoke grenade to break line of sight and retreat to the nearest safe room instead of fighting a losing battle.
Pre-Death Preparedness
Smart players prepare for vessel death before it happens. This means knowing your escape routes, keeping Phase Dash off cooldown when entering dangerous zones, and communicating your position to teammates even in solo runs. Positioning discipline — Always know where the nearest safe zone is relative to your current position. This awareness lets you react instantly when your vessel breaks rather than panicking and making poor decisions.
Loot prioritization — Don't carry everything you find. The carry capacity system means you're slower with more loot, which increases your death risk. Drop low-value items to maintain mobility in dangerous zones. The same rule applies in reverse: when you reach a safe room, drop everything that cannot sell, grind, or be placed, reclaiming your speed before the next zone.
For players who want to understand how different vessels handle these pressure situations, our vessel ranking guide provides a full breakdown of which options perform best under fire. The ranking guide also compares recovery speed and Spark abilities, which are the two stats that matter most when your vessel inevitably breaks at depth.
Frequently Asked Questions
What happens to my loot when my vessel breaks in GRAIN ROT?
Your carried loot drops to the ground in a scattered pile at the location where your vessel broke. Teammates can recover these items, but you cannot pick them up in Spark form. If you're revived, you'll need to physically walk back to the pile to reclaim your items.
Can I survive as a Spark indefinitely after grain rot vessel death?
No, the Spark form has a soft timer based on Corruption exposure. While you won't die instantly, staying in Spark form for extended periods attracts more Corrupted and increases the Corruption meter. You should seek revival or extraction within a few minutes of your vessel breaking.
Do spark abilities work differently when my vessel is intact?
No, spark abilities are exclusive to the Spark form after vessel death. When your vessel is intact, you use its standard ability set instead. This means you can't practice Spark abilities in normal gameplay — you only access them when your vessel breaks.
Which vessel recovers fastest after being broken?
The Ember Skiff reclaims you fastest after grain rot vessel death—70% health, abilities fully recharged, back in the fight within seconds. The Phoenix Core trails slightly, prioritizing Spark power boosts over raw speed, so choose Skiff for rapid redeployment, Core for sustained magical pressure.
Is the best vessel for solo play also the best for surviving vessel death?
Yes, the Ember Skiff is the best for both solo play and vessel death—its fast recovery and reduced Phase Dash cooldown create a safety net that gets you back to looting quickly. The Phoenix Core is a close second if you prefer fighting in Spark form.