
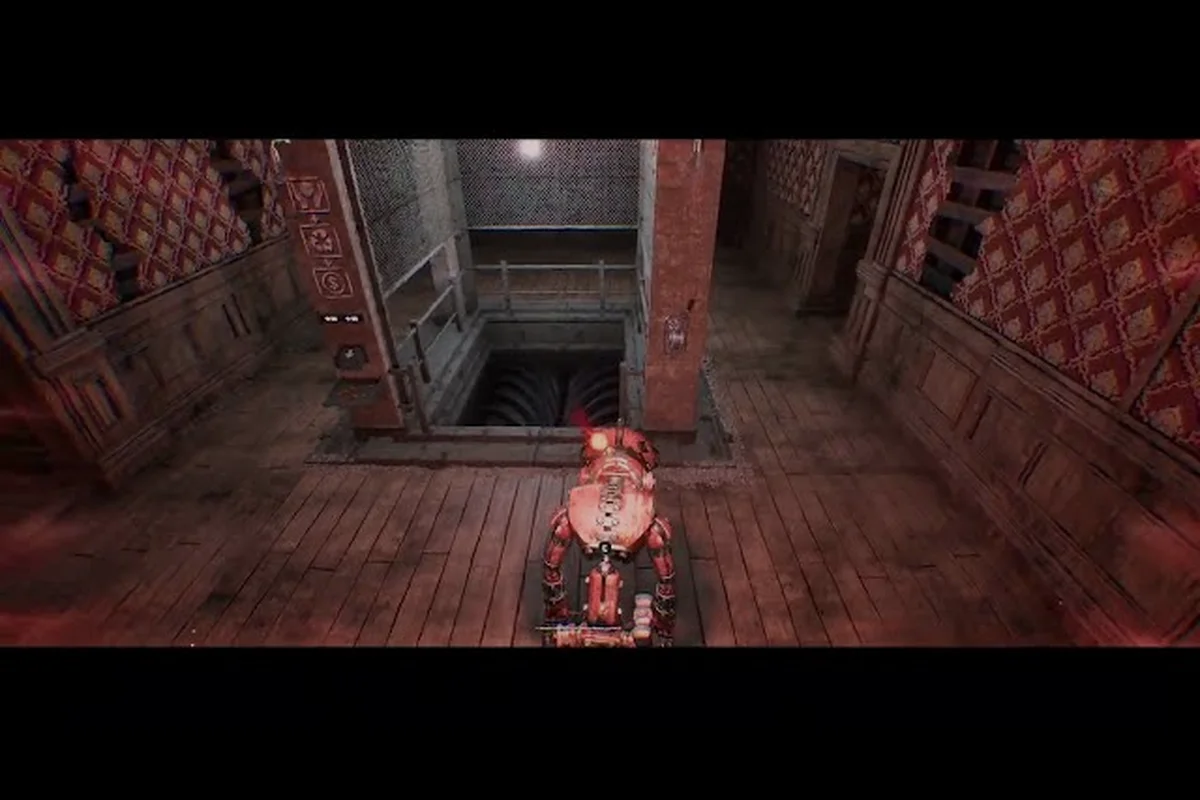
Every extraction in GRAIN ROT is a gamble between what you haul back and what you leave behind, and the difference between a profitable run and a wasted one comes down to knowing the market. This gold farm guide breaks down the exact furniture prices, upgrade costs, and salvage priorities that determine whether your Outpost thrives or stalls.
Since the game launched on Steam on August 7, 2026, the community has been mapping out the most efficient ways to turn scrap into gold. The core loop is deceptively simple: descend into the scorched ruins, rip out furniture, extract before the Corrupted overwhelm you, then sell or recycle your haul at the Outpost. But the economy has layers that most new players miss, and understanding those layers is the difference between scraping by and building a fortress.
GRAIN ROT Economy Fundamentals Every Player Should Know
The economy in GRAIN ROT revolves around two distinct value streams: direct gold sales and material recycling. When you extract furniture, you have two options at the Outpost — sell it outright to the vendor for instant gold, or feed it into the Grinder to break it down into materials that unlock upgrades and crafting recipes.
The Grinder is the heart of the progression system, and the official Steam page confirms that rebuilding the Outpost is the core fantasy. What the store page doesn't tell you is that the Grinder's gold values were actively tuned during playtests — the developers announced patch notes for Grinder gold values and Corruption tuning on the official Discord server, which means the meta shifts as balance patches roll out. Here's what you need to understand before your first serious farming session:
-
Gold is the universal currency — used for buying furniture directly, paying extraction fees, and purchasing consumables.
-
Materials are the progression currency — Grinder output unlocks new furniture blueprints, Outpost upgrades, and equipment.
-
Every item has a dual value — what you'd get selling it vs. what you'd get grinding it, and these rarely match.
-
The vendor prices reset daily — some furniture sells for more on certain days, so timing matters.
-
Weight and slot efficiency matter — a bulky item that sells for 50 gold is worse than two small items that sell for 40 gold each.
The key insight from community testing is that early-game players should prioritize direct gold sales to unlock basic Outpost upgrades, while mid-game players should shift toward Grinder feeding to unlock higher-tier furniture blueprints. This grain rot economy guide will walk you through both strategies in detail.
Furniture Prices: What Sells for the Most Gold
Furniture is the primary loot source in GRAIN ROT, and knowing the price tiers before you descend will save you from hauling worthless junk while leaving treasures behind. Based on community data gathered from the first week of release, here's the current furniture price breakdown:
| Furniture Tier | Example Items | Base Sell Price | Grinder Value | Weight (Slots) |
|---|---|---|---|---|
| Common | Rusted Chair, Broken Shelf, Old Crate | 15-25 gold | 5-8 materials | 1-2 |
| Uncommon | Wooden Table, Iron Lamp, Ceramic Vase | 35-55 gold | 12-20 materials | 2-3 |
| Rare | Velvet Couch, Brass Chandelier, Marble Statue | 80-120 gold | 30-45 materials | 3-4 |
| Epic | Gilded Mirror, Crystal Cabinet, Ornate Clock | 150-220 gold | 55-80 materials | 4-5 |
| Legendary | Royal Throne, Enchanted Wardrobe, Ancient Relic | 300-500 gold | 100-150 materials | 5-6 |
These prices are based on community testing from launch week and may shift with balance patches — the developers have already adjusted Grinder gold values once during the playtest phase, so expect further tuning. The rarity system is the single biggest factor in your income per run. A single Legendary item can net you more gold than an entire backpack of Common junk, but Legendary items also take up significant inventory space and attract more Corrupted attention during extraction. The risk-reward calculation is central to any grain rot gold farm guide.
How Rarity Affects Your Run Strategy
When you're planning a farming route, rarity should dictate your priorities. Common furniture is everywhere, but it's barely worth the inventory slots. Uncommon items are the bread-and-butter of early runs — they're plentiful, sell for decent gold, and grind into useful materials.
Rare and Epic items are where the real money is. A single Brass Chandelier selling for 100+ gold can fund a significant Outpost upgrade, and stacking two or three of these per run makes the difference between a slow grind and rapid progression. The catch is that these items are usually deeper in the ruins, which means longer extraction routes and higher Corruption risk.
Legendary items are the jackpot, but they're also the biggest trap for inexperienced players. Hauling a Royal Throne through a heavily Corrupted zone while your teammates are extracting with full bags is a coordination nightmare. If you're running solo, it's often better to grab two Rare items than to risk losing a Legendary to a failed extraction.
Upgrade Prices: Where Your Gold Should Go First
Understanding furniture prices is only half the equation — you also need to know what upgrades cost and which ones deliver the best return on investment. The Outpost has several upgrade paths, and each one has a different price point and payoff timeline.
| Upgrade Path | First Tier Cost | Max Tier Cost | Primary Benefit |
|---|---|---|---|
| Storage Capacity | 200 gold | 2,500 gold | Carry more loot per run |
| Extraction Speed | 150 gold | 1,800 gold | Faster escape from ruins |
| Grinder Efficiency | 300 gold | 3,500 gold | More materials per item |
| Weapon Rack | 250 gold | 2,200 gold | Better starting equipment |
| Medical Station | 180 gold | 1,500 gold | Heal between runs |
These upgrade prices are based on community reports from the first week of release and may vary slightly with patches. The developers have already shown they're willing to adjust Grinder gold values, so upgrade costs could shift too. The Storage Capacity upgrade is almost universally recommended as the first purchase because it compounds every run you do afterward. Going from 10 slots to 15 slots doesn't just mean 50% more loot — it means you can grab those extra Rare items that would otherwise be left behind. The return on investment is immediate and permanent.
Extraction Speed is the second priority for most players, especially those running solo. Faster extraction means less time exposed to Corrupted enemies, which translates directly to fewer lost runs. The math is simple: if you extract successfully 90% of the time instead of 70%, your effective income per hour jumps dramatically.
The Grinder Efficiency Dilemma
The Grinder Efficiency upgrade is the most controversial early purchase because it doesn't produce immediate gold — it produces more materials per item, which only pays off if you're actively grinding furniture instead of selling it. For players following a pure gold farming strategy, this upgrade is a trap until you've unlocked higher-tier furniture blueprints.
Once you have access to Rare and Epic furniture blueprints, though, Grinder Efficiency becomes the best investment in the game. The difference between 30 materials and 45 materials per Rare item adds up quickly when you're grinding 10+ items per run. This is where the grain rot economy guide splits into two philosophies: sell early, grind late. If you're unsure which path fits your playstyle, check out our what to upgrade first guide for a detailed breakdown of every Outpost upgrade and the optimal purchase order.
What to Sell vs. What to Keep: The Complete Decision Framework
The most common question from new players is what to sell and what to keep, and the answer depends on your current progression stage. This grain rot gold farm guide uses a simple decision framework based on three factors: item rarity, your Grinder level, and your current gold reserves.
| Item Type | Early Game (First 10 Runs) | Mid Game (Runs 10-30) | Late Game (Runs 30+) |
|---|---|---|---|
| Common Furniture | Sell for gold | Grind for materials | Grind for materials |
| Uncommon Furniture | Sell for gold | Sell or grind (check Grinder level) | Grind for materials |
| Rare Furniture | Sell for gold | Grind for materials | Grind for materials |
| Epic Furniture | Grind for materials | Grind for materials | Grind for materials |
| Legendary Furniture | Grind for materials | Grind for materials | Grind for materials |
The logic is straightforward: early game, gold is the bottleneck because you need to unlock basic upgrades before anything else. Mid game, materials become the bottleneck because furniture blueprints require significant Grinder output. Late game, you have both and can afford to be selective.
The Sell-to-Grind Ratio
A practical rule that community players have developed is the 2:1 sell-to-grind ratio for early game. For every two Common or Uncommon items you sell for gold, grind one item into materials. This keeps your gold income steady while slowly building a material reserve for when you unlock better blueprints.
Once you've unlocked your first Rare furniture blueprint, flip the ratio to 1:2 — sell one item, grind two. The Rare blueprints produce items that sell for significantly more than their material cost, so the investment pays off quickly. For a deeper dive into which specific items are worth selling versus grinding, check out our furniture resale guide with a full item-by-item breakdown.
Optimized Routes for Efficient Gold Farming
Once you've mastered the basics of what to sell and what to keep, it's time to optimize your actual farming routes. The ruins in GRAIN ROT are procedurally shifted, but community testing has identified consistent patterns in loot distribution that you can exploit.
Route Planning for Maximum Gold Per Run
The most efficient farming routes follow a depth-based progression that balances risk against reward:
-
Shallow Ruins (Depth 1-2) — Mostly Common and Uncommon furniture. Fast extraction, low risk. Good for new players or quick material grinding.
-
Mid Ruins (Depth 3-4) — Uncommon and Rare furniture appear regularly. Moderate risk, solid gold income. This is the sweet spot for most farming runs.
-
Deep Ruins (Depth 5-6) — Rare, Epic, and occasional Legendary furniture. High risk, but a single successful run can net 500+ gold.
-
Boss Zones (Depth 7+) — Guaranteed Epic or Legendary drops, but requires coordinated team play and strong equipment.
The mid ruins are the most efficient gold-per-minute location for most players. You can complete a full loop in about 15 minutes, extract reliably, and consistently pull 200-300 gold worth of furniture. Deep ruins offer higher ceiling but much lower consistency — one failed extraction can wipe out three runs of profit.
Team Coordination for Bigger Paydays
Running with a coordinated team changes the calculus significantly. A common strategy is the designated hauler — one player focuses on grabbing the most valuable items while others provide cover and handle Corrupted enemies. This lets you extract Epic and Legendary items that would be too risky for a solo player.
The official Discord community has documented several effective team compositions, and the GRAIN ROT Steam page confirms the game is designed for co-op extraction. If you're playing with friends, designate roles before descending — it makes a massive difference in your gold per run.
The Extraction Timing Trick
One of the most valuable tips from community reports is timing your extraction to the Corruption cycle. The Corrupted enemies spawn in waves, and there are brief windows between waves where extraction is significantly safer. Learning to read the environmental cues — the grain fields start to smolder, the air shimmers, the distant screams fade — lets you time your extraction for maximum safety. This technique takes practice, but it's the difference between a 70% extraction rate and a 90% extraction rate. Over a long farming session, that 20% improvement translates to hundreds of extra gold per hour.
Common Gold Farming Mistakes and How to Avoid Them
Even experienced players make costly mistakes that eat into their gold income. Based on community reports from the first week of release, here are the most common errors and how to avoid them:
| Mistake | Impact | Solution |
|---|---|---|
| Overloading with Common items | Wasted inventory slots | Only grab Common items if you have spare space |
| Ignoring Grinder materials | Stalled progression | Maintain a 1:2 sell-to-grind ratio |
| Taking risky extraction routes | Lost runs and loot | Learn the Corruption cycle and time your exits |
| Upgrading Grinder too early | Gold starvation | Focus on Storage and Extraction Speed first |
| Selling Legendary items | Missed long-term value | Always grind Legendary items for materials |
The biggest mistake is treating every run the same. A grain rot gold farm guide isn't just about what to pick up — it's about adapting your strategy to your current needs. If you're 100 gold short of a Storage upgrade, focus on quick shallow runs for fast gold. If you're grinding toward a Rare blueprint, prioritize mid ruins and grind everything you extract.
The Opportunity Cost Trap
Many players fall into the trap of hoarding items because they're afraid of making the wrong sell-or-grind decision. This is a mistake — gold sitting in your inventory does nothing, and materials sitting in the Grinder hopper do nothing. Every item you extract should be converted to gold or materials before your next run.
The exception is Legendary items, which are worth holding onto if you're close to unlocking a blueprint that requires them. But even then, the opportunity cost of holding a 400-gold item for three runs while you could have used that gold to upgrade Storage Capacity is significant. If you're still learning the basics of the game loop, our GRAIN ROT game explained guide covers the fundamentals of extraction, Corrupted enemies, and Outpost progression.
Frequently Asked Questions
What is the fastest way to earn gold in GRAIN ROT?
The fastest gold comes from running mid-depth ruins (levels 3-4) with a coordinated team, focusing on Rare and Epic furniture while maintaining a 1:2 sell-to-grind ratio. A successful 15-minute run nets 200-300 gold, and with efficient extraction timing, you can complete 3-4 runs per hour.
Should I sell or grind furniture in the early game?
Sell Common and Uncommon furniture for gold during your first 10 runs to unlock Storage Capacity and Extraction Speed upgrades. Grind one item for every two you sell to build a small material reserve. Once you unlock Rare blueprints, flip to grinding most items since the crafted furniture sells for more.
How much does the Grinder Efficiency upgrade cost?
The first tier costs 300 gold and increases material output by roughly 25%. Maxing it out costs 3,500 gold total and nearly doubles your material yield. It's not worth purchasing early, but it becomes the best investment once you have Rare and Epic furniture blueprints unlocked.
What furniture sells for the most gold?
Legendary items like the Royal Throne, Enchanted Wardrobe, and Ancient Relic sell for 300-500 gold each, though they're rare and require deep ruin runs. Epic items like Gilded Mirrors and Crystal Cabinets are more consistent, selling for 150-220 gold with manageable extraction risk.
How often do furniture prices change?
Vendor prices reset daily, and balance patches can shift Grinder gold values, so check before farming. In the grain rot route, some furniture sells 10-20% higher on certain days—adjust your sell-or-grind calls accordingly to keep your per-run average steady. Watching the vendor rotation before a deep run helps you time your biggest sales for high-price days.